mi sono stati richiesti alcuni tutorial via mail che non pensavo di fare,
poichè li ritenevo troppo facili,
ma la risposta di una ragazza mi ha lasciata senza parole:
facili per chi? per te che sai come si fanno!
e allora eccomi qui a postare un passo a passo
che avevo escluso in principio,
e a torto devo dire...mi sono proprio divertita a farlo
(un doveroso ringraziamento the "photographer" exceptional
who forgot to remove your finger from the flash while taking a picture! ) : o)
So, no more diets today .... muffins! poichè li ritenevo troppo facili,
ma la risposta di una ragazza mi ha lasciata senza parole:
facili per chi? per te che sai come si fanno!
e allora eccomi qui a postare un passo a passo
che avevo escluso in principio,
e a torto devo dire...mi sono proprio divertita a farlo
(un doveroso ringraziamento the "photographer" exceptional
who forgot to remove your finger from the flash while taking a picture! ) : o)
choose fabrics that are tuned to a harmonious relationship between their colors, I recommend using the
cotton fabrics, are more manageable
especially for those just beginning.
dub straight against
with a pen evanescent (ie those that would discolour after a while
without a trace) or with a dressmaker's chalk mark the boundary of the model.
 little trick: use a pin "open" this type of photo,
 supplied with most of the sewing machines, as it gives us a better view of where we are sewing

go only to sew the top edge (the wave) of our model
being careful to follow the sign to perfection! Otherwise waves goodbye!
this allows turning the model with no unsightly wrinkles.

we should at this point, sew the bottom of the muffin,
please carefully follow the next steps, are important not only for the muffin in question, but
bent a little towards the outside edge on which we should sew the circular piece  well as in photo
 well as in photo
  if we performed well this, we have neither wrinkles nor
 excess softness of fabric .... have two pieces fitted together perfectly,
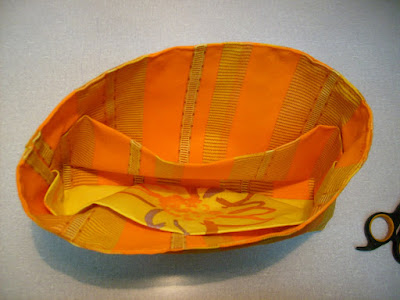
roll up the top into the lower as shown in the picture below ... this will enable us more easily in a seam the next step. 
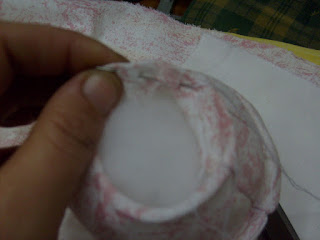
we place the inside of the leg in order to distance at this point, fill with stuffing our muffins, give a consistency not too hard (too much padding) nor too loose (too little! Not be rancine!) 


folded to the inside edge of the muffin
(this will avoid having wires dangling disgusting)
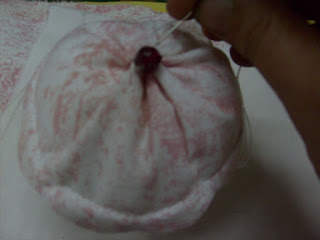
e facciamo una filza con un filo abbastanza resistente
 tiriamo con delicatezza distribuendo bene il riccetto che si andrà via via formando
 ATTENZIONE
se questa operazione non viene fatta bene,
il vostro muffin risulterà storto e in bilico
:o)
Easy!  bon appetit .....
 bon appetit .....


 all around by sliding out as you go


 posizioniamolo esattamente sopra l'altro che abbiamo già cucito.
  help you with a basting.
  (This section is intended to give the thickness)

 :o)
:o) 

 a questo punto dovremmo avere una cosa del genere...
  ultimo passo la chiusura...


